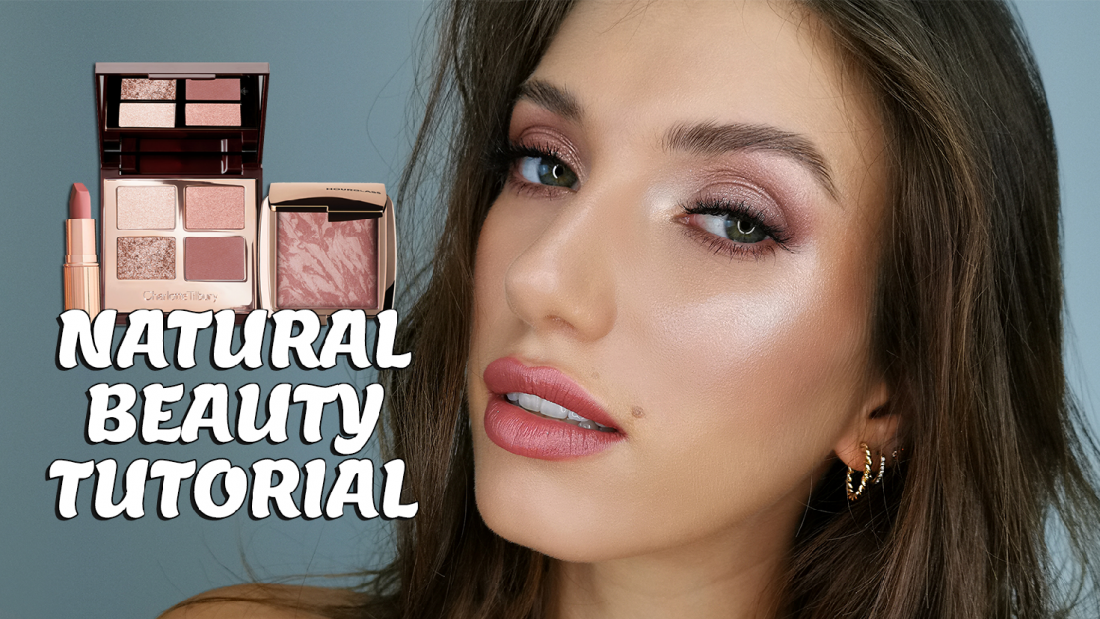
Beauty Makeup Tutorial
Hello my lovelies! I wanted to create this quick video tutorial to show you some of the amazing products that you can win in my Beauty Giveaway*, that is currently running on my Instagram!
The concept for this look was inspired by the runway of Victoria’s Secret, it is very feminine, with glowing makeup that highlights a woman’s natural beauty!
*All products highlighted in bold are included in the Giveaway!
Tutorial Steps:
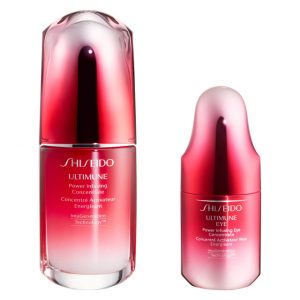
1) In terms of makeup, beauty always begins from the skin. If you have beautiful, healthy skin, your makeup will also look great! I started by applying a strengthening and nourishing serum on Olivia’s eyes and face, massaging it into the skin and neck.
Shiseido – Ultimune Eye Power Infusing Eye Concentrate
Shiseido – Ultimune Power Infusing Concentrate Serum

2) Next up, it is always very important to hydrate the lips. I like to use a rich moisturiser on the lips early on, before I go into any of the makeup application, to allow enough time for the moisturiser to work. Careful though, if you are going for a matte look on the lips, and this product is not fully absorbed by the time you are ready to apply lipstick, it is better to blot the lips dry with some tissue and then apply any lip pencil or lipstick, because it is very rich and glossy!
Elizabeth Arden – Eight Hour Cream Skin Protectant
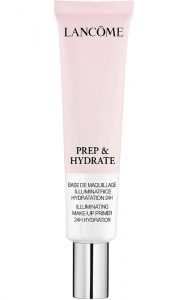
3) As a last step in skin prep, I used an illuminating, hydrating primer all over the face, which will give us that gorgeous, dewy glow that we want from this look!
Lancôme – Prep & Hydrate Face Primer
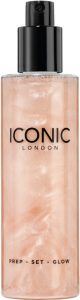
4) To ensure that the skin will remain hydrated and glowing, I used some of ICONIC London’s Prep-Set-Glow, all over the face. This multi-use product can be used both for prepping the skin, as well as setting the makeup, leaving a beautiful pearlescent glow! Plus, it smells aaabsolutely amazing, and I always get compliments for it by my clients!
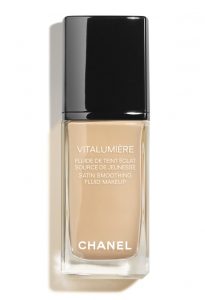
5) For foundation, I used Vitalumière by Chanel, which is medium coverage and has a lightweight, creamy formula that is very hydrating. This foundation is better suited to dry and combination skins — if your skin is more on the oily side, I recommend that you try their Ultra Le Teint formula instead!
Chanel – Vitalumière Satin Smoothing Fluid Foundation
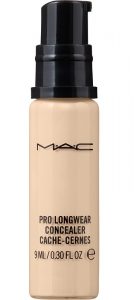
6) Next, apply a lightweight concealer under the eyes and around the nose area, and anywhere else where you feel like you might need a bit more coverage. My concealer of choice is the Pro Longwear Concealer by MAC Cosmetics, it is very creamy and doesn’t crease at all, which also makes it perfect for mature skin!
MAC Cosmetics – Pro Longwear Concealer
Pro tip: Avoid using a flat concealer brush for the under-eye area. Instead, use a long, fluffy brush that won’t pick up as much product and will enable you to blend the product seamlessly!
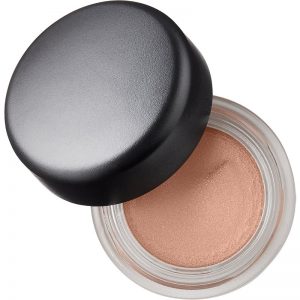
7) I like to give the foundation and concealer a moment to settle into the skin before I apply any powder, so I primed the eyelids next, using my favourite eyeshadow base from MAC Cosmetics, Paint Pot in the shade, ‘Painterly’.
MAC Cosmetics – ‘Painterly’ Paint Pot
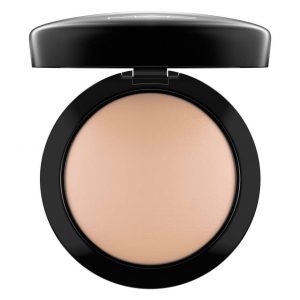
8) Set the foundation and concealer with a sheer powder, using a fluffy brush. Remember, this is a natural beauty look and therefore we do not want to use too much powder, which can exaggerate skin texture.
MAC Cosmetics – Mineralize Skinfinish Natural

9) Now that our base is done, it is time to move onto the eyes!
We are going to use the gorgeous Charlotte Tilbury palette ‘Exagger-Eyes‘, to create a sultry smoky eye makeup look, but before that, we will use a soft eye pencil to create the eye shape that we want, that will also serve as a guideline for our eyeshadow.
To achieve that smoky effect, we will first use a soft, brown eye pencil that can be blended using a fluffy brush, to create a slightly ‘sticky’ surface for our eyeshadow to adhere to. For this purpose, I used one of my favourite eye pencils from MAC Cosmetics, the Powerpoint Eye Pencil in the colour ‘Stubborn Brown’.
Start by drawing with the pencil across the lash line, staying as close to the lashes as possible. Don’t worry if the line is not straight or perfect, we will be blending everything together at the end, so just focus on concentrating the product near the lashes, which will make them appear a lot fuller!
MAC Cosmetics – Powerpoint Eye Pencil in ‘Stubborn Brown’
10) With your fluffy brush, pick up some of the brown eye pencil and blend it across the lashline and into the outer corner of the eye and the eye socket, to create depth. Continue to add more of the brown eye pencil near the lashline, to create a gradient effect.
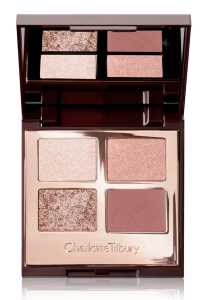 11) Time for eyeshadow! With a flat fluffy brush, pick up the lightest shade in the ‘Exagger-Eyes’ palette, called ‘Prime’ and place it on the inner corner of the eyes and a little bit on the brow bone.
Charlotte Tilbury – ‘Exagger-Eyes’ Eyeshadow Palette
12) With a blending brush, pick up the pinky shade on the top right called ‘Enlarge’ and brush it over the entire lid and into the socket line.
13) For this next step, I recommend that you use your finger instead of a brush, to apply the lower left colour, ‘Pop’, onto the centre of the moving lid.
Pro tip: When using your fingers to pat eyeshadow onto the lids, or to blend concealer under the eyes, it is best to always use the ring finger (second after the pinkie!), because that is the finger with the least amount of pressure!
14) Lastly, use a small brush to apply the lower right shadow called ‘Define’ onto the lash line and blend it so that it looks soft and smoky. Then, use a blending brush to work that same colour into the outer corner of the crease.
15) With a clean, blending brush, make sure to soften all the edges of the eye makeup.
16) Using that same small brush you used earlier, apply the shade ‘Define’ on the lower lash line.
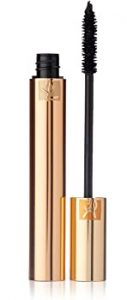
17) Time for mascara and optionally, false lashes, which I applied off-camera! I used the Yves Saint Laurent ‘Volume Effet Faux Cils’ Mascara which is also included in the giveaway, using a disposable brush (for hygiene reasons!).
Yves Saint Laurent – Volume Effet Faux Cils Mascara
For eyelashes, I always prefer using individuals that look more natural. In this tutorial, I used MAC Cosmetics’ 30 Lash Individual lashes.
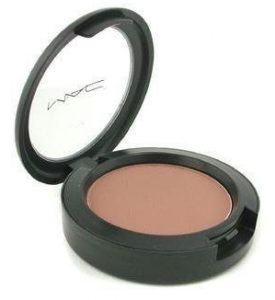
18) Back to the face makeup, we now need to enhance the shape of the face by using a light contour colour. I used Mac Cosmetics ‘Harmony’ Powder Blush which is suitable for light to medium skin tones.
MAC Cosmetics – Harmony Powder Blush
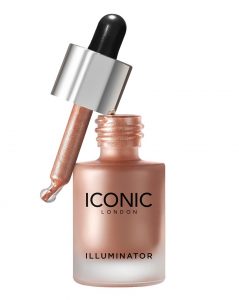
19) To highlight the cheekbones, I used ICONIC London’s Illuminator in the shade ‘Original’, which is in liquid form, but blends beautifully even over powder! I find that it is best applied using a duo fiber brush, and then fine-tuned with the finger.
ICONIC London – Illuminator in ‘Original’
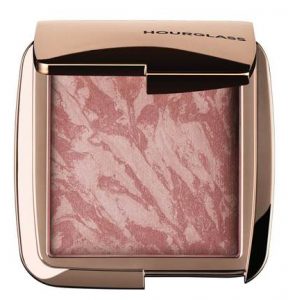
20) For blush, I selected the gorgeous ‘Mood Exposure’ blush by Hourglass Cosmetics, the perfect, soft mauve/plum shade for the fall, which has a luminous, silky finish and smooth texture.
Hourglass – Ambient Lighting Blush in ‘Mood Exposure’

21) Finally, time for the lips! This lipstick colour is probably my ultimate favourite for bridal makeup, and of course, I am talking about Charlotte Tilbury’s ‘Pillow Talk Original’!
Lightly fill in the lips with the Lip Cheat Liner in ‘Pillow Talk Original’, then apply its matching Matte Revolution Lipstick in the same shade. Although a matte lipstick, this has to be one of the creamiest formulas I have ever used and it doesn’t dehydrate the lips, at all.
Charlotte Tilbury – Lip Cheat liner in ‘Pillow Talk Original’
Charlotte Tilbury – Matte Revolution Lipstick in ‘Pillow Talk Original’
22) Set the makeup with one last spritz of ICONIC London’s Prep-Set-Glow!
That is all for this tutorial, I hope you all enjoyed it and I look forward to creating more videos for you! 🥰🥰